A withdrawable breaker is one of those components you only appreciate when a line is down and the maintenance window is shrinking. It lets you isolate, test, and remove a breaker through a guided mechanism rather than pulling apart the entire panel, which is why it matters so much in industrial switchgear, motor control centres, and critical feeders. In practice, the design is about uptime, safe servicing, and predictable handling more than about the breaker itself.
The essentials behind a withdrawable breaker at a glance
- It combines a moving breaker unit with a fixed chassis, so the device can be racked in and out without dismantling the whole assembly.
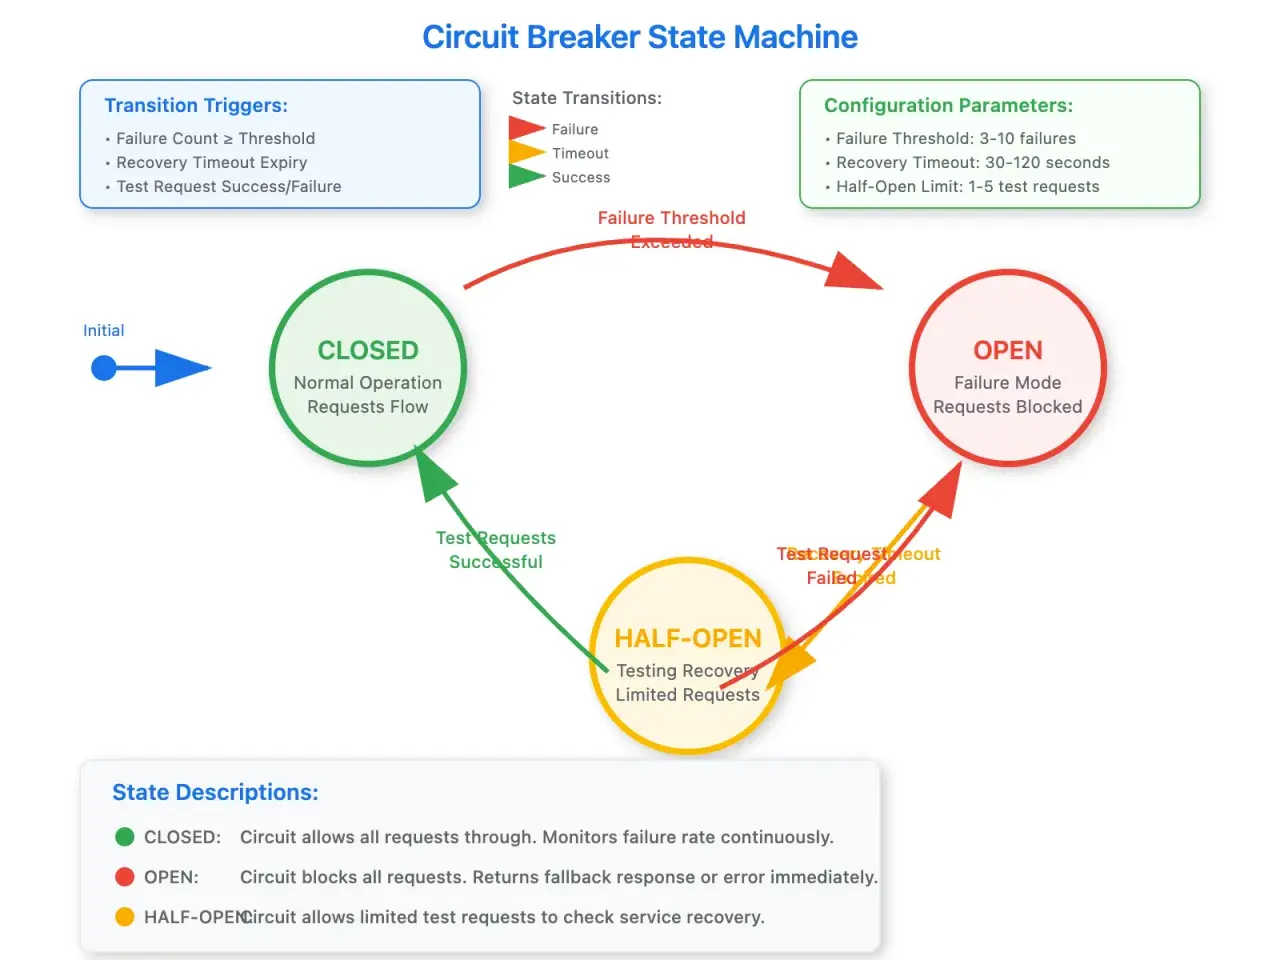
- The usual positions are connected, test, disconnected, and withdrawn, which gives maintenance teams more control over isolation and verification.
- It is most useful where downtime is expensive, access is awkward, or the feeder supports a process that cannot stay offline for long.
- A fixed breaker is simpler and cheaper; a withdrawable design costs more but usually saves time during service and replacement.
- In the UK, I would align the specification with BS EN IEC 60947-2:2025 and the manufacturer’s instructions, then check the installation against the actual site duty.
What a withdrawable breaker actually is
Most engineers use withdrawable, draw-out, and drawout almost interchangeably, but the idea is the same: the breaker is built so it can move between defined service positions inside a chassis. That chassis stays bolted into the switchboard or switchgear cubicle, while the breaker body can be inserted, tested, isolated, or fully removed without disturbing the upstream and downstream terminations.
I like this design because it changes the maintenance model. Instead of taking the whole feeder apart to replace a worn device, you work with a controlled mechanical interface. According to BSI, the current UK reference point for low-voltage circuit-breakers is BS EN IEC 60947-2:2025, so the breaker is not just a mechanical convenience; it still has to meet the performance and safety expectations that apply to the device category.
That distinction matters, because a withdrawable unit is not a shortcut around electrical rules. It is a way to make the right procedure easier to carry out, and that takes us to the mechanism that makes it useful in the first place.
How the racking mechanism works in practice
The core movement is called racking, which simply means moving the breaker through the chassis under a guided mechanical system. On many industrial units, the breaker can pass through four distinct states:
- Connected means the main contacts and control contacts are fully engaged, so the breaker can operate normally.
- Test means the primary power path is open, but control and auxiliary circuits can often be exercised for functional checks.
- Disconnected means the breaker is separated from the live parts and can usually be worked on more safely.
- Withdrawn means the breaker is physically removed from the chassis or pulled back beyond the operating position.
Schneider Electric’s documentation describes that moving part and fixed chassis split clearly, and that is the right mental model to keep in mind: the breaker is only one half of the system. The other half is the cradle, rails, shutters, and interlocks that guide the movement and reduce the chance of an unsafe operation. Interlocks are the hardware or logic features that prevent the breaker from being moved or operated in the wrong state.
That is also why withdrawable breakers feel more deliberate than plug-in devices. The movement is slower, but the control is better. In a plant that depends on traceable changeovers, that is usually worth the extra hardware, especially once you compare it with the alternatives.
Where it earns its keep in electrical systems
I reach for a withdrawable design when the feeder is too important to treat as disposable. That usually means main incomers, critical distribution boards, motor control centres, drive supplies, utility feeders, and industrial processes where a single outage can stop multiple downstream assets. In automated facilities, one breaker can sit upstream of PLC racks, conveyors, pumps, robots, or HVAC plant, so a faster swap does more than save time on paper.
It also makes sense when access is tight. If a panel is tucked into a plantroom corner, or if the site cannot easily bring in a replacement assembly, being able to isolate and remove the breaker itself is a practical advantage. I have seen that pay off in water treatment, packaging lines, and continuous-process environments where a small repair window matters more than equipment elegance.
The design is less compelling where downtime is cheap, load diversity is low, or the panel is small enough that a fixed breaker can be replaced quickly and safely. In other words, this is not an automatic upgrade. It is a serviceability decision, and serviceability only matters when the site actually needs it.
How it compares with fixed and plug-in breakers
When people ask me whether they should choose a fixed, plug-in, or withdrawable unit, I start with one question: how expensive is the outage? That usually decides the debate faster than a product brochure does.
| Type | What moves | Main advantage | Main trade-off | Best fit |
|---|---|---|---|---|
| Fixed | Nothing; the breaker is hard-wired in place | Lowest cost and simplest layout | Replacement usually means more downtime and more site work | Smaller boards, lower criticality loads, budgets that prioritise simplicity |
| Plug-in | The breaker body can be unplugged from a base | Faster replacement than fixed | Less robust service workflow than a true withdrawable system | Commercial and light industrial panels where service speed matters, but full switchgear is unnecessary |
| Withdrawable | The breaker racks through a chassis | Best control over isolation, testing, and removal | Higher upfront cost and more mechanical complexity | Critical industrial feeders, switchgear, and sites where uptime is worth paying for |
The difference is not only mechanical. Some IEC-rated withdrawable ranges go very high on current and voltage, which shows how scalable the concept is; for example, some families reach 6300 A at 690 V AC, while medium-voltage vacuum breakers can go to 38 kV. That range tells you why the design survives in heavy industrial environments, not just in niche applications. The real question is not whether the mechanism exists, but whether your maintenance model can use it properly.
Safe racking, isolation, and maintenance are where the value shows up
I would not treat racking as a casual task. It is routine in the field, but it is still a controlled electrical operation, and the wrong assumption can turn a convenience feature into a fault path. The safest pattern is simple: isolate according to procedure, confirm the breaker’s position, and never rely on a handle alone when the manual specifies more checks.
- Use only qualified personnel for racking, inspection, and testing.
- Verify the breaker’s position indication before touching the assembly.
- Keep the control circuit and auxiliary wiring in view, especially if the test position is being used.
- Check shutters, stabs, and contact surfaces for wear, contamination, or misalignment.
- Follow the manufacturer’s racking sequence exactly, because small variations matter.
- Log operating cycles and service history so wear is tracked before it becomes a failure.
The reason the test position exists is simple: it lets you exercise control and protection logic without restoring the full power path. That is useful when commissioning, troubleshooting, or confirming interlocking behaviour after a disturbance. The catch is that test does not mean harmless. It only means the breaker is in a different electrical state, so the procedure still needs discipline.
Once the workflow is clear, the next problem is usually not safety but specification. That is where projects quietly go wrong.
The mistakes that cause the most trouble
The most common mistake is overbuying the feature. I see teams choose withdrawable gear for every feeder because it sounds premium, then discover they do not have the staff, the spare parts, or the space to use it properly. That is an expensive way to learn that not every circuit needs the same level of serviceability.
Another recurring problem is ignoring the chassis and accessory ecosystem. A draw-out breaker is not just the breaker frame; it is the fixed part, racking handle, shutters, interlocks, and often auxiliary contacts or monitoring modules. If those pieces are poorly specified, the whole advantage disappears.
These are the mistakes I would avoid first:
- Assuming a withdrawable breaker eliminates the need for isolation procedures.
- Choosing the device without checking the breaking capacity against the actual fault level.
- Forgetting the footprint and rear access needed for racking and inspection.
- Ignoring the test position and then discovering it does not match the commissioning plan.
- Buying a premium chassis without keeping spare parts and trained staff in the maintenance strategy.
In practice, the best installations are rarely the most complex ones. They are the ones that match the equipment to the site’s rhythm, which is why the final specification check matters so much in the UK context.
The details I would lock in before signing off a UK specification
In 2026, I would treat the UK spec as a three-part exercise: standard compliance, maintenance access, and operational duty. The breaker needs to satisfy the relevant standard, but the panel also has to suit the real workflow on site. That means checking the current rating, breaking capacity, pole count, control voltage, and available monitoring options before anyone signs off on the order.
| What to check | Why it matters | What I would look for |
|---|---|---|
| Standard compliance | Confirms the breaker belongs to the right performance class | BS EN IEC 60947-2:2025 for low-voltage circuit-breakers in the UK |
| Fault level and breaking capacity | Protects the installation during short-circuit events | Enough margin for the site’s prospective fault current |
| Racking positions | Determines how easily the team can test and isolate the unit | Clear connected, test, disconnected, and withdrawn states |
| Mechanical access | Affects maintenance time and installation practicality | Space for the racking handle, door movement, and safe inspection |
| Monitoring and auxiliaries | Supports automation, alarms, and condition awareness | Auxiliary contacts, status indication, and any communication modules the site actually needs |
| Spare strategy | Reduces restoration time after a failure | Compatible replacement units or a spare chassis plan |
I also pay attention to the difference between the catalog rating and the site duty. A breaker can be technically impressive and still be the wrong answer if the panel layout is cramped, the team is not trained on racking, or the maintenance window is too short to benefit from the design. That is why I prefer to think of it as an availability decision rather than a purchasing decision.
Why this choice matters when uptime is part of the design
A withdrawable breaker is not interesting because it moves. It is interesting because it makes electrical systems easier to live with after commissioning. If a feeder needs to be isolated, tested, or replaced without dragging the whole installation into a longer outage, the design pays for itself in reduced disruption and cleaner maintenance.
For industrial automation and smart manufacturing sites, that matters more every year. The breaker is no longer just a protective device at the front of the board; it is part of the uptime strategy behind drives, controls, network equipment, and process loads. If the site depends on fast restoration, I would treat the breaker as a serviceability asset first and a commodity second.
That is the standard I use: choose the mechanism only when the system will genuinely benefit from faster, safer intervention, then specify the chassis, positions, and accessories with the same care as the breaker frame itself.