The motor starter coil symbol is small, but it does a lot of work in a control diagram. It tells you when the starter is meant to energise, how the start-stop chain is arranged, and where to look when a motor will not run. I will break down how the coil is shown in UK-style IEC drawings, what A1 and A2 mean, and how the symbol fits into practical motion control panels.
What the coil tells you at a glance
- A1 and A2 are the coil terminals, so they tell you where the control voltage enters.
- The starter is usually drawn in a de-energised state, which means the contacts are shown in their normal positions.
- A device tag such as K or KM links the coil to its contacts elsewhere in the drawing.
- The control voltage can be different from the motor voltage, so the coil rating matters on its own.
- In motion control panels, the coil is the point where a logic command becomes a physical switching action.
What the coil mark really represents
In practice, I treat the motor starter coil symbol as the control-side fingerprint of the device. The coil does not carry the motor current; it energises the magnetic mechanism that closes or opens the main contacts. That is why the symbol matters so much in troubleshooting: it tells you whether the problem sits in the command path, the coil itself, or the power side downstream.
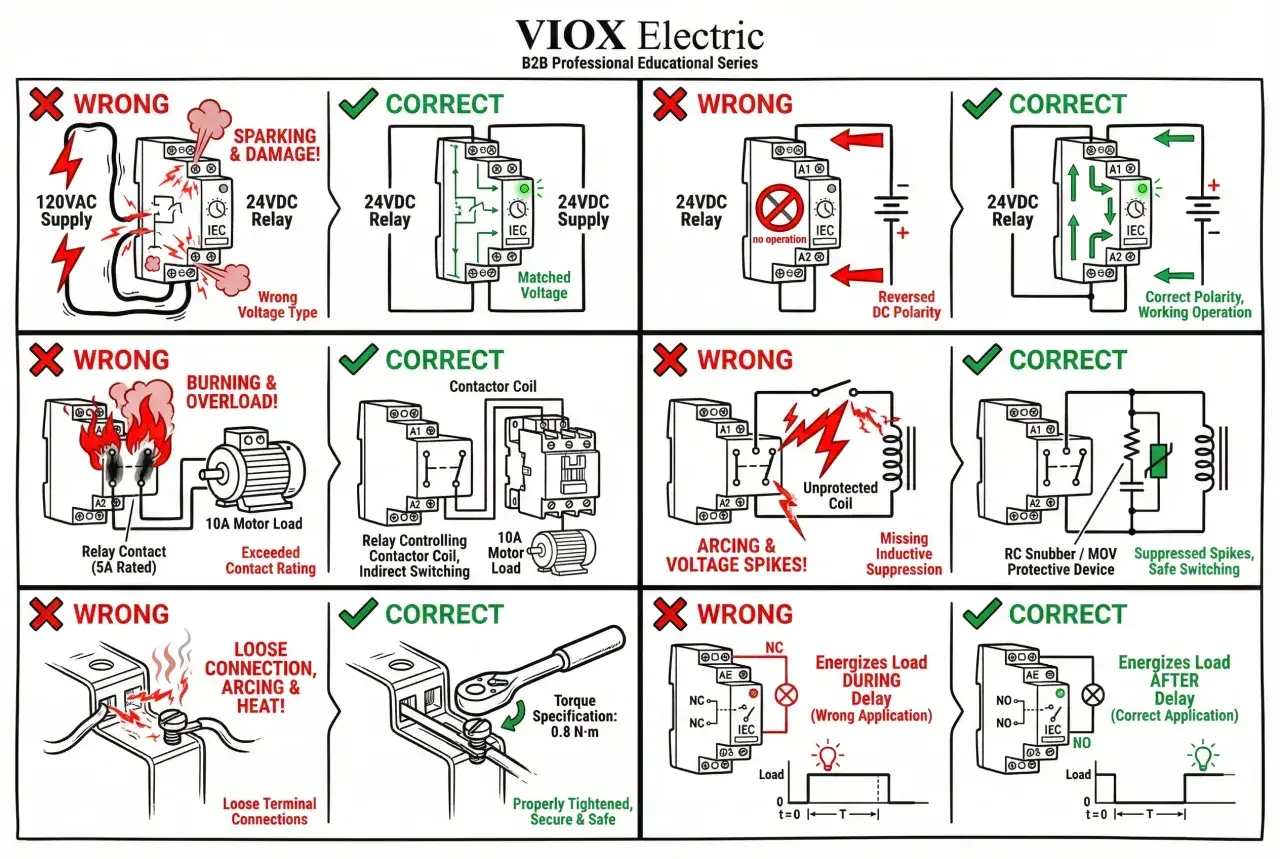
On UK-style drawings, the coil is usually tied to a reference designation, often K or KM, with terminals labelled A1 and A2. Those terminal marks identify the ends of the electromagnetic coil assembly, but they do not automatically mean positive and negative on every device. With AC coils, polarity is not the point; with DC coils, I still check the manufacturer’s notes before assuming anything.
| Marking | What it usually means | Why it matters |
|---|---|---|
| A1 / A2 | The coil terminals | Shows where the control voltage is applied |
| K / KM | Device reference designation | Links the coil to its auxiliary and main contacts |
| De-energised drawing | The default state used in most schematics | Explains why NO contacts appear open and NC contacts appear closed |
| Control voltage | The voltage that energises the coil | May be 12, 24, 48, 110, 230 or 400 V depending on the panel |
That last point is easy to miss. A 24 VDC PLC output may be controlling a 230 VAC starter coil, or a small interposing relay may sit in between. The coil symbol tells me where the action starts, but the label beside it tells me whether the wiring will actually survive the electrical load.

How to read it in an IEC control diagram
Most IEC-style diagrams used in the UK are drawn in a de-energised state. That means the circuit is shown as it sits when no control power is applied, not as it behaves during normal running. Once you accept that rule, the rest of the drawing becomes much easier to read because every contact around the coil makes sense in its resting position.
- Find the coil tag first, then identify A1 and A2.
- Trace backwards through the stop button, emergency stop, overload relay and any safety contact in series.
- Look for the start command or PLC output that completes the path to the coil.
- Check for a seal-in or holding contact, usually an auxiliary contact that keeps the coil energised after the start button is released.
When I read a starter schematic, that is the order I use. It saves time because it separates the control logic from the power circuit, and it makes fault-finding much more direct. If the coil is not pulling in, the missing link is usually in the series chain, not inside the motor itself.
A thermal overload relay often sits in that same chain. Its job is to open the control circuit if the motor draws too much current for too long, or if a phase is lost in a three-phase system. In a live maintenance job, that detail matters because an overload trip can look like a dead coil unless you read the diagram carefully.
Why the coil matters in motion control panels
In motion control, the starter coil is the moment when software, safety logic and physical movement meet. A PLC may decide that a conveyor can run, but the coil is what actually releases the contactor that feeds the motor. Without that final electrical step, the logic may be perfect and the machine still sits still.
This is why the symbol is so useful in real panels. On pumps, fans, conveyors and simple hoists, it tells you which device is really responsible for switching power. On a modern cabinet, it may also tell you whether an output card is driving the coil directly or whether an interposing relay is protecting the PLC from a heavier load.
- On a conveyor, the coil often represents the final permission for motion to start.
- On a pump system, it may be part of duty/standby changeover logic.
- On a fan bank, it can reveal whether the supply contactor or bypass path is engaged.
- On a drive system, it may control line isolation, a bypass contactor or another safety-related switching step.
That last case is important in 2026, because not every motor in a smart factory is switched the same way. Even when a variable speed drive handles the speed profile, the upstream contactor coil may still decide whether the drive is allowed to energise at all. So the symbol is not just a drafting detail; it is a map of where motion is granted or blocked.
IEC, NEMA and the labels that cause confusion
The same device can look different depending on the drafting standard. IEC and NEMA both aim to describe the same electrical reality, but they use different symbol libraries and different habits around labels. In the UK, IEC-style documentation is the more familiar baseline, but imported machine drawings often mix conventions, and that is where technicians lose time.
| Aspect | IEC or UK-style diagram | ANSI or NEMA-style diagram |
|---|---|---|
| Symbol style | Usually a compact coil element with terminal and reference labels | Often a more library-specific coil graphic with different drafting habits |
| Reference codes | K, KM and similar tags are common | Tables may show CR, CON, M or TR, depending on the symbol library |
| Reading rule | Drawn in the de-energised state by default | The same principle applies, even if the symbol looks different |
| Practical risk | Assuming the shape alone tells the full story | Assuming an imported symbol means the same thing as a local one |
The safest habit is boring but effective: read the legend, confirm the reference designation and then follow the cross-reference to the contacts. I would rather spend ten seconds on the legend than ten minutes chasing the wrong starter in the cabinet.
That caution matters even more when panels are built from mixed documentation, because a symbol may be correct in isolation and still be misleading in context. A clean standard, a clear legend and consistent labelling do more for maintenance than a fancy diagram ever will.
The mistakes I see most often when people read the symbol
Most misreads are not technical failures; they are context failures. The symbol is usually fine, but the reader assumes the wrong state, the wrong standard or the wrong part of the circuit. Here are the mistakes I would watch for first.
- Reading the control diagram as if it were the power diagram. The coil lives in the control circuit, while the motor current flows through the main contacts.
- Assuming A1 and A2 always mean live and neutral. That can be true in some AC installations, but it is not a universal rule and it matters even less on DC coils with suppression devices.
- Forgetting that the drawing is normally de-energised. If you read the contacts in the wrong state, every NO and NC device looks backwards.
- Ignoring the overload relay in the coil path. A tripped overload can stop the starter just as effectively as a failed coil.
- Confusing the coil with the auxiliary seal-in contact. The contact keeps the coil energised; it is not the coil itself.
My rule is simple: if the starter is not behaving, I first ask whether the diagram is being read in its resting state and whether the coil feed is being interrupted upstream. That usually reveals the real fault faster than checking the motor side.
What a clean diagram should show around the coil
Good documentation removes guesswork. A useful schematic should not only show the coil symbol, but also the information needed to energise it safely and to trace it later during maintenance. When that detail is missing, a simple fault becomes a scavenger hunt.
| What to verify | What good practice looks like |
|---|---|
| Coil rating | The voltage and AC or DC type are stated clearly next to the device |
| Terminal labels | A1 and A2, or the manufacturer’s equivalent, are shown consistently |
| Cross-references | Auxiliary contacts and main contacts are linked back to the same device tag |
| Safety chain | Stop, emergency stop and overload devices are visible in the control path |
| Suppression notes | Diode, varistor or other coil protection is identified when it matters |
When I check a panel for the first time, I want to know three things immediately: what voltage energises the coil, which contacts belong to it, and what can stop it from pulling in. If those three answers are obvious from the drawing, the rest of the job becomes much easier.
The fastest way to stay confident when the starter will not pull in
If the motor stays off, do not start with the motor. Start with the command path around the coil. That is the quickest route to a useful answer because a starter problem is often a control problem, not a load problem.
- Check whether the coil is receiving the correct voltage at A1 and A2.
- Verify that the stop circuit, overload relay and safety devices are all closed where they should be.
- Confirm that the PLC output, relay output or pushbutton path is actually sending a command.
- Match the device tag on the coil to the contacts elsewhere in the schematic.
In motion control work, that habit saves a lot of time. Once you can read the coil, you can usually tell whether the cabinet is waiting for a missing signal, a tripped protection device or a miswired starter. That is the real value of the symbol: it turns a messy panel into a sequence you can reason through instead of guessing at.